Staining whites with color-bleed is a common laundry mishap that many of us have faced. Whether it’s a red sock mixed with a load of whites or a new garment that bleeds color, the result can be frustrating. But don’t despair! This guide will provide you with step-by-step instructions to restore your whites and make them look as good as new.
Color-bleed occurs when dyes from one fabric transfer to another during the washing process. This can happen for various reasons, such as washing dark and light colors together or using the wrong water temperature. Understanding the causes of color-bleed can help you prevent it in the future.
In this guide, we’ll explore the causes of color-bleed and outline a simple process to remove those stubborn stains. By following these instructions, you can save your favorite white garments from being ruined and learn valuable tips for future laundry success.
Understanding the Stain
Before diving into the stain removal process, it’s essential to identify the type of fabric and stain you’re dealing with. Different fabrics react differently to various cleaning methods, and understanding the nature of the stain can guide you to the most effective treatment. Is the stain from a colored garment, or is it a specific type of stain like wine or ink?
Knowing the answer to these questions will help you choose the right approach and products to restore your whites without damaging the fabric. For example, a stain from a colored garment may require a different treatment than a stain from a spilled beverage. Familiarizing yourself with the stain’s origin will lead to a more targeted and successful removal process.
It’s also worth noting that the sooner you treat the stain, the better your chances of complete removal. Fresh stains are generally easier to remove than those that have set in. If you notice color-bleed on your whites, act quickly and follow the steps outlined in this guide for the best results.
Preparation: Gathering Necessary Materials
Proper preparation is key to successful stain removal. Here’s a list of materials you may need to gather: stain remover or pre-treatment solution, mild detergent suitable for whites, a soft-bristle brush or old toothbrush, clean white cloth or sponge, and a bucket or sink for soaking if necessary.
Selecting the right products for your fabric type is crucial. For example, a gentle stain remover might be best for delicate fabrics, while a more robust solution might be needed for sturdy cotton. Read the labels on your stain removal products and your garment to ensure compatibility, and always test a small hidden area first if you’re unsure.
Having all your materials ready before you begin will make the process smoother and more efficient. Organize your workspace, and ensure you have everything you need at hand. This preparation will allow you to focus on the stain removal process without interruptions, increasing your chances of success.
Step 1: Pre-Treating the Stain
Pre-treating the stain is a vital first step in the stain removal process. Apply a stain remover or pre-treatment solution directly to the stained area, following the instructions on the product’s packaging. If you don’t have a specialized product, a mixture of water and mild detergent can also be effective.
Using a soft-bristle brush or an old toothbrush, gently scrub the stained area, working the treatment into the fabric. Be careful not to scrub too hard, as this can damage the fibers. Allow the pre-treatment to sit for the time specified on the product label, usually around 5 to 15 minutes.
For stubborn stains, you may consider soaking the garment in a solution of water and stain remover. Ensure that the soaking solution is suitable for the fabric type, and follow the instructions for the soaking time. This step can help loosen the stain and make the washing process more effective.
Step 2: Washing the Stained Garment
After pre-treating the stain, it’s time to wash the garment. If you’re using a washing machine, place the pre-treated garment with a load of similar whites. Select the appropriate water temperature and cycle based on the garment’s care label. Adding a color-safe bleach or oxygen bleach can enhance the stain removal process.
If you prefer to hand wash the garment, fill a sink or bucket with water at the recommended temperature and add a mild detergent. Gently agitate the garment in the water, paying special attention to the stained area. Hand washing allows you to control the process and can be gentler on delicate fabrics.
Whether machine washing or hand washing, avoid overloading the washer or using too much detergent, as this can hinder the stain removal process. Rinse the garment thoroughly to remove all traces of detergent and stain remover, ensuring that the stain has been completely lifted.
Step 3: Inspecting and Repeating if Necessary
After washing, carefully inspect the stained area to ensure that the stain has been completely removed. If any trace of the stain remains, do not dry the garment, as heat can set the stain, making it more difficult to remove. Instead, repeat the pre-treatment and washing process as needed.
It’s not uncommon for stubborn stains to require more than one treatment. Patience and persistence are key here. Repeating the process may be necessary to fully restore your whites, especially if the stain has set in or is particularly challenging to remove.
If multiple attempts do not remove the stain, you may consider seeking professional cleaning services. Professionals have specialized tools and knowledge that can address particularly stubborn stains. While this option may be more costly, it can be a worthwhile investment to save a cherished garment.
Step 4: Drying the Garment
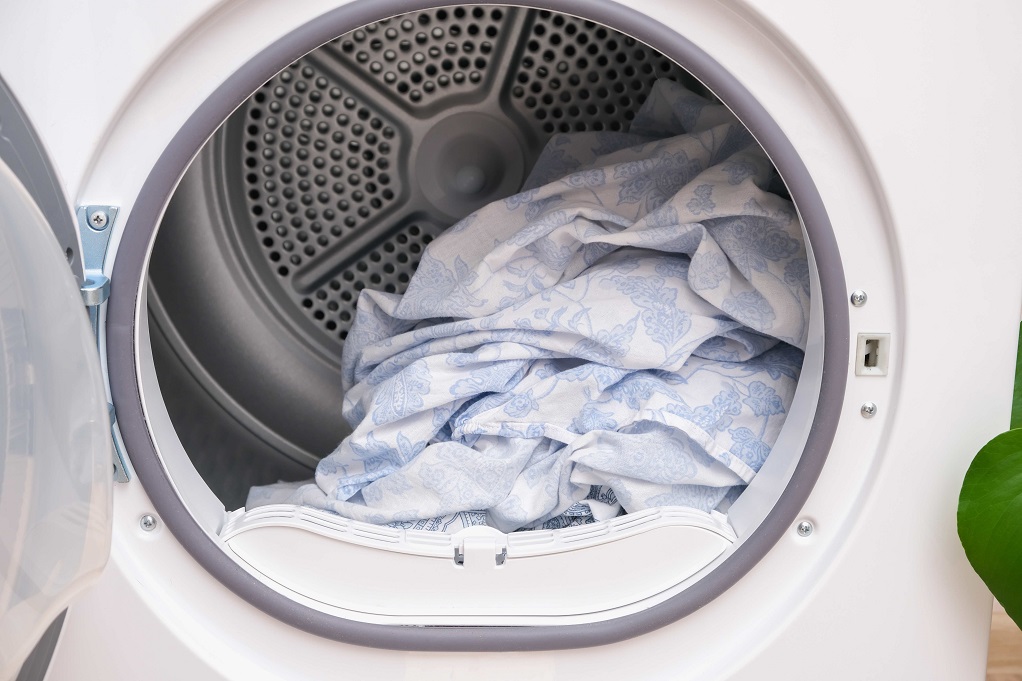
Once you have successfully removed the stain, it’s time to dry the garment. If the care label allows, you may machine dry the item on a low or gentle setting. Be sure to shake out the garment to prevent wrinkles and ensure even drying. If you’re unsure about machine drying, air drying is a safe alternative.
To air dry, lay the garment flat on a clean, dry towel or hang it on a drying rack. Avoid hanging it in direct sunlight, as this can cause discoloration. Allow the garment to dry completely, turning it occasionally to ensure even drying. Air drying is gentle on fabrics and can help preserve the integrity of your whites.
Remember, proper drying is as essential as washing in maintaining the appearance of your whites. Following the garment’s care instructions for drying will help keep your whites looking fresh and new, free from wrinkles and damage that can occur with improper drying techniques.
Additional Tips and Tricks
Restoring whites stained by color-bleed can be a straightforward process with the right approach. Here are some additional tips and tricks to enhance your stain removal success: always read and follow the care labels on your garments, test stain removal products on a hidden area first, and consider using color-catching sheets in your wash to prevent future color-bleed.
Prevention is often the best strategy. By sorting your laundry properly and avoiding washing dark colors with whites, you can minimize the risk of color-bleed. Regular maintenance of your washing machine, including cleaning the drum and dispensers, can also contribute to stain-free laundry.
Finally, don’t hesitate to seek professional advice if you’re dealing with a particularly challenging stain. Sometimes, a professional cleaner’s expertise can save a garment that seems beyond repair. Investing in professional cleaning for valuable or cherished items can be a wise decision.
Restoring whites stained by color-bleed doesn’t have to be a daunting task. By understanding the nature of the stain and following a systematic approach, you can effectively remove color-bleed stains and restore your whites to their original brilliance. This guide has provided you with step-by-step instructions and valuable tips to help you succeed in this common laundry challenge.
Remember, patience and attention to detail are key. Whether you’re dealing with a minor mishap or a major stain, these methods can help you tackle the problem with confidence. Keep these tips in mind for future laundry days, and you’ll be well-equipped to handle any color-bleed stains that come your way.
We hope this guide has been helpful, and we invite you to share your experiences or ask questions in the comments section below. Happy laundering, and may your whites always stay bright and beautiful!


